Denna webbplats är skyddad av hCaptcha och hCaptchas integritetspolicy . Användarvillkor gäller.
Beskrivning
Specifikationer

Ta med dig mikrofonen
När din utrustning utvecklas, anpassar vi oss. BEACN Mic Stand är kompatibelt med en mängd olika produkter som använder 5/8"- och 3/8"-gängor, vilket gör uppgraderingar och förändringar till en smidig och problemfri upplevelse.
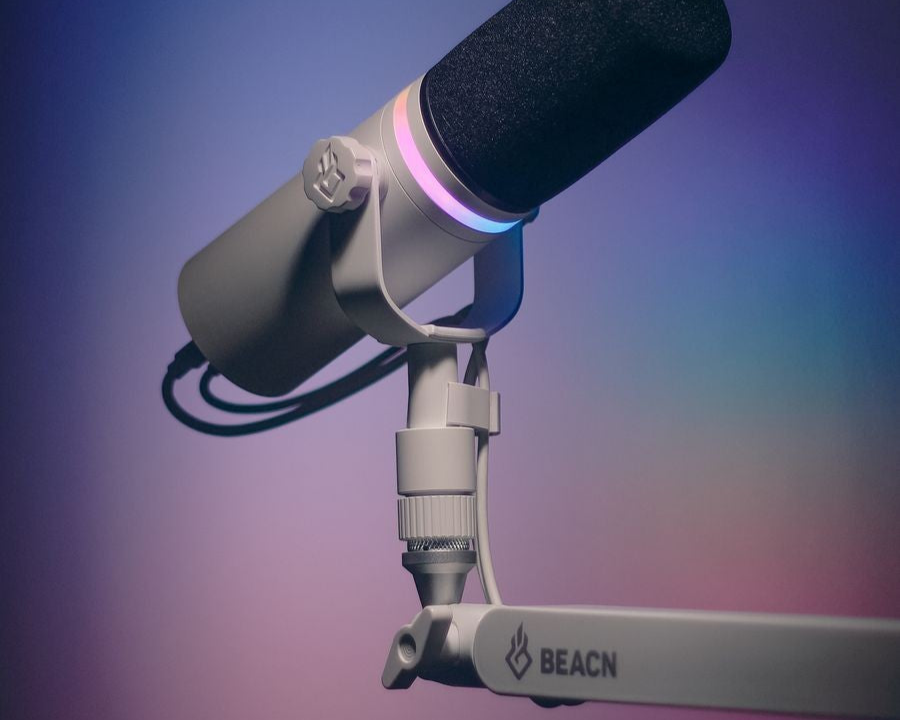
360 graders rörelse
Vår anpassade "kulhuvud"-design anpassar sig efter dina behov med en 360-graders roterande svängfunktion. Justera enkelt din mikrofon efter dina preferenser.
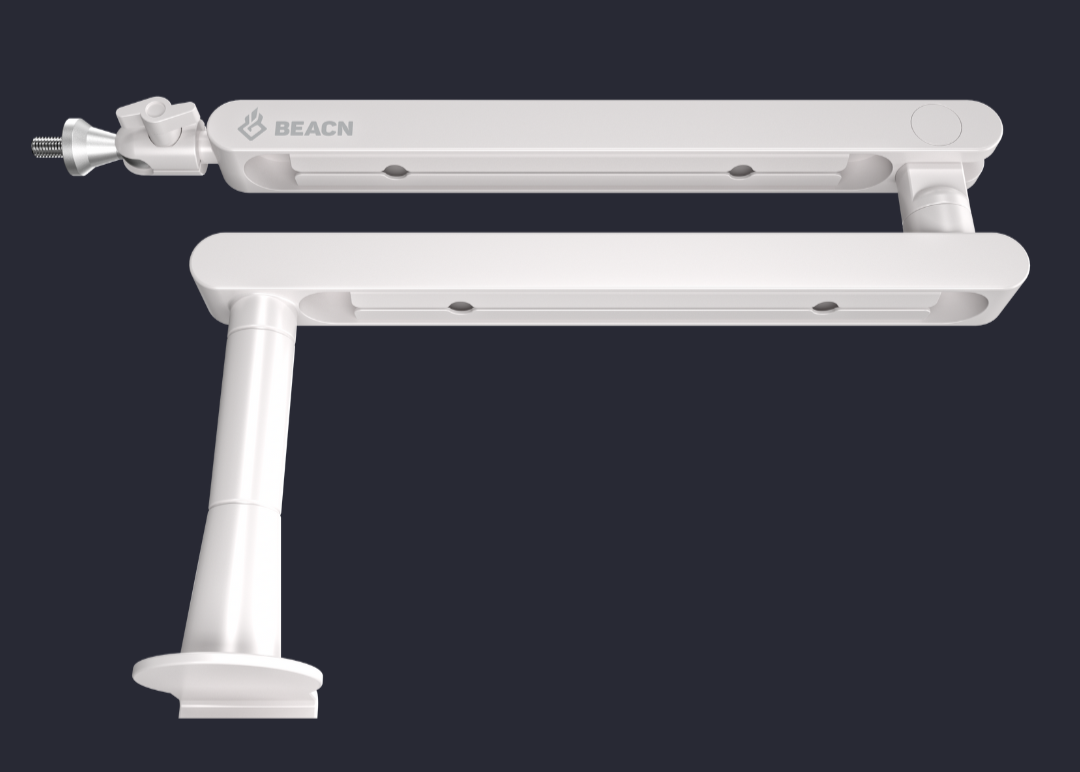
Kabelhantering som faktiskt fungerar
Glöm problemen med kablar som slinker ur på fel tillfälle. Vår integrerade kabelkanal sitter stadigt på undersidan och ser till att dina kablar hålls på plats. Medan andra kan lossna oväntat, håller vi oss stabila och pålitliga.
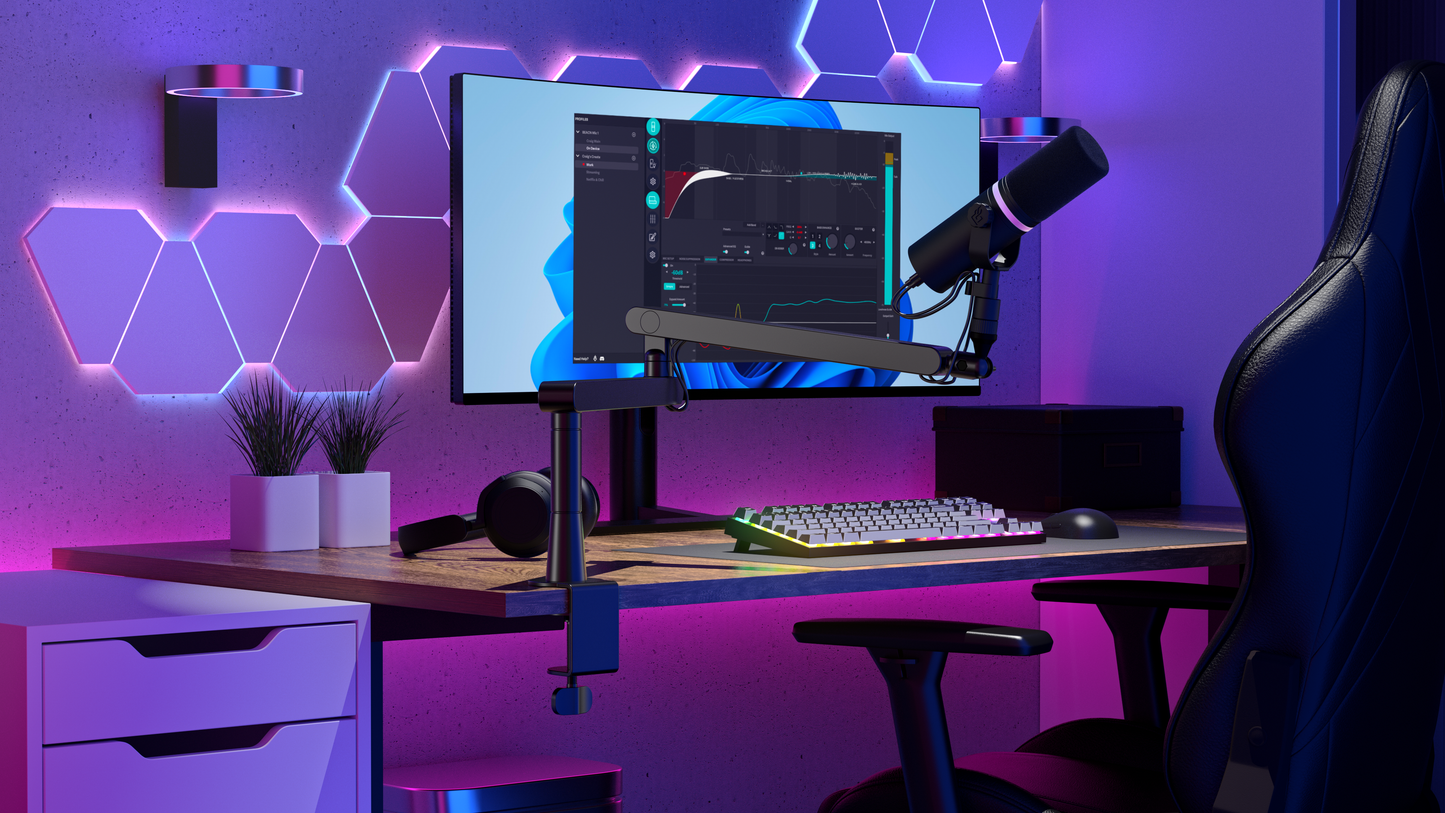
Slipp bekymret med svajande stativ
Tillverkat med precision och byggt för att hålla, har vårt mikrofonstativ en säker montering som passar de flesta skrivbordstjocklekar och klarar en belastning på upp till 2 kg.
Gå med i vårt 40k-community på sociala medier
Vanliga frågor och svar
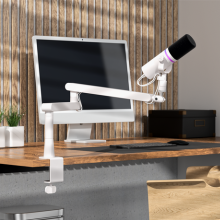
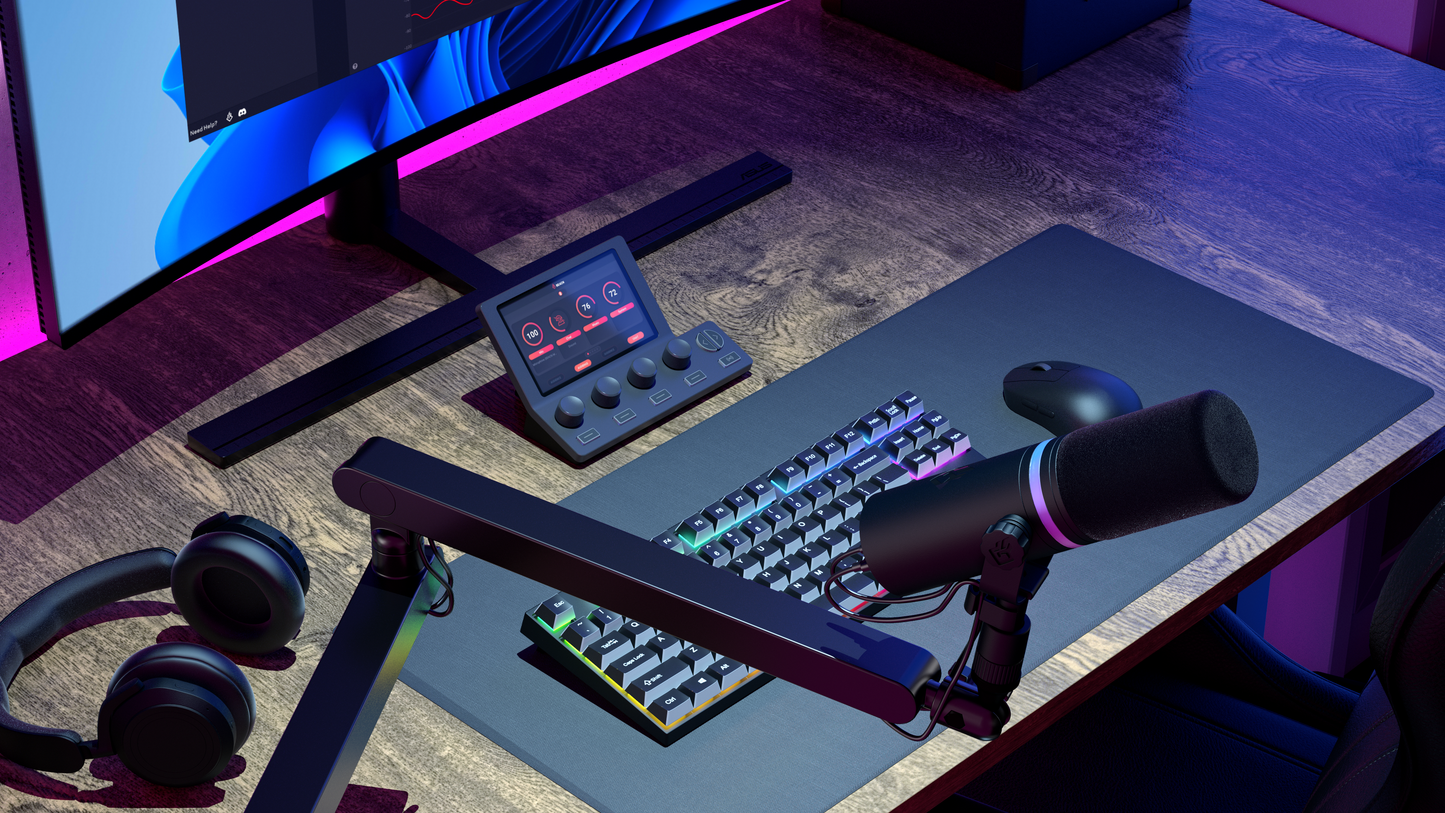
Ett lågprofilerat stativ är designat för att placeras horisontellt framför dig i stället för att vinklas ner från ovan.
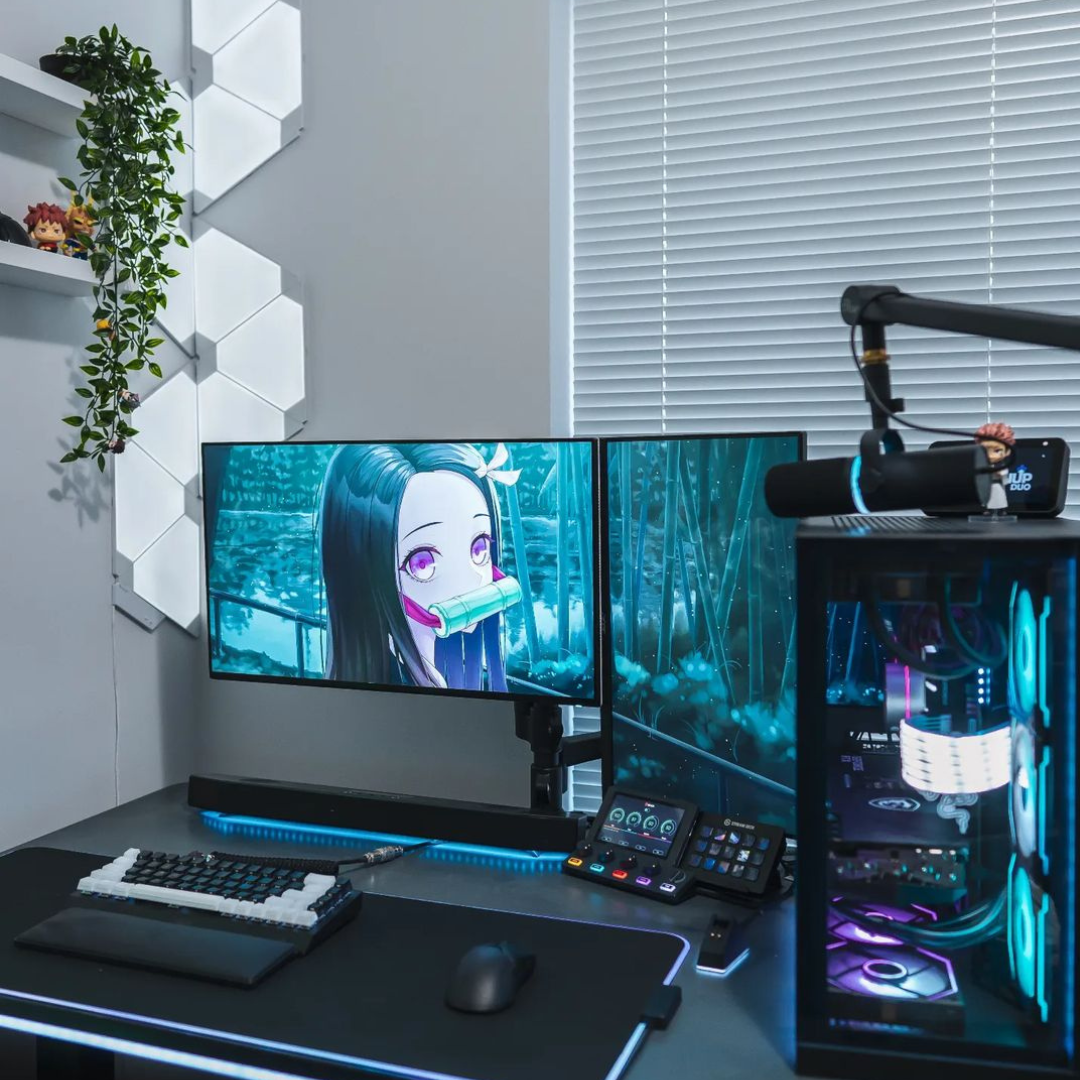
Den största fördelen för streaming och gaming är att stativet kan placeras under din skärm eller dina skärmar.
BEACN Mic Stand har ett svängbart fäste som gör att du enkelt kan justera mikrofonens position och sedan flytta den åt sidan utan att riskera att stöta till din 12K 800" UHQHXD 400FPS-skärm.
Hehe, du sa "kulhuvud".
Kulhuvuden är vanliga justerbara fästen med 360-graders rörelse som används inom film och fotografering. "Kul"-delen av fästet gör det möjligt att rotera mikrofonen i nästan vilken riktning som helst, vilket ger dig optimal placering.
Oavsett om du vill att mikrofonen ska komma in från sidan, underifrån eller ovanifrån, ger kulhuvudet dig den flexibiliteten.
Ja!
Vi har lagt extra omsorg på att testa och omtesta det högkvalitativa materialet som används i vår kabelkanal. Det är både enkelt att få in kablarna utan att skada fingrarna och tillräckligt starkt för att förhindra att kablarna trillar ut vid normal rörelse av stativet.
Vi valde att placera kabelkanalen på undersidan av stativet för att hålla kablarna så gömda som möjligt för din publik.
Den officiella viktgränsen är 2 kg, men svaret du förmodligen letar efter är:
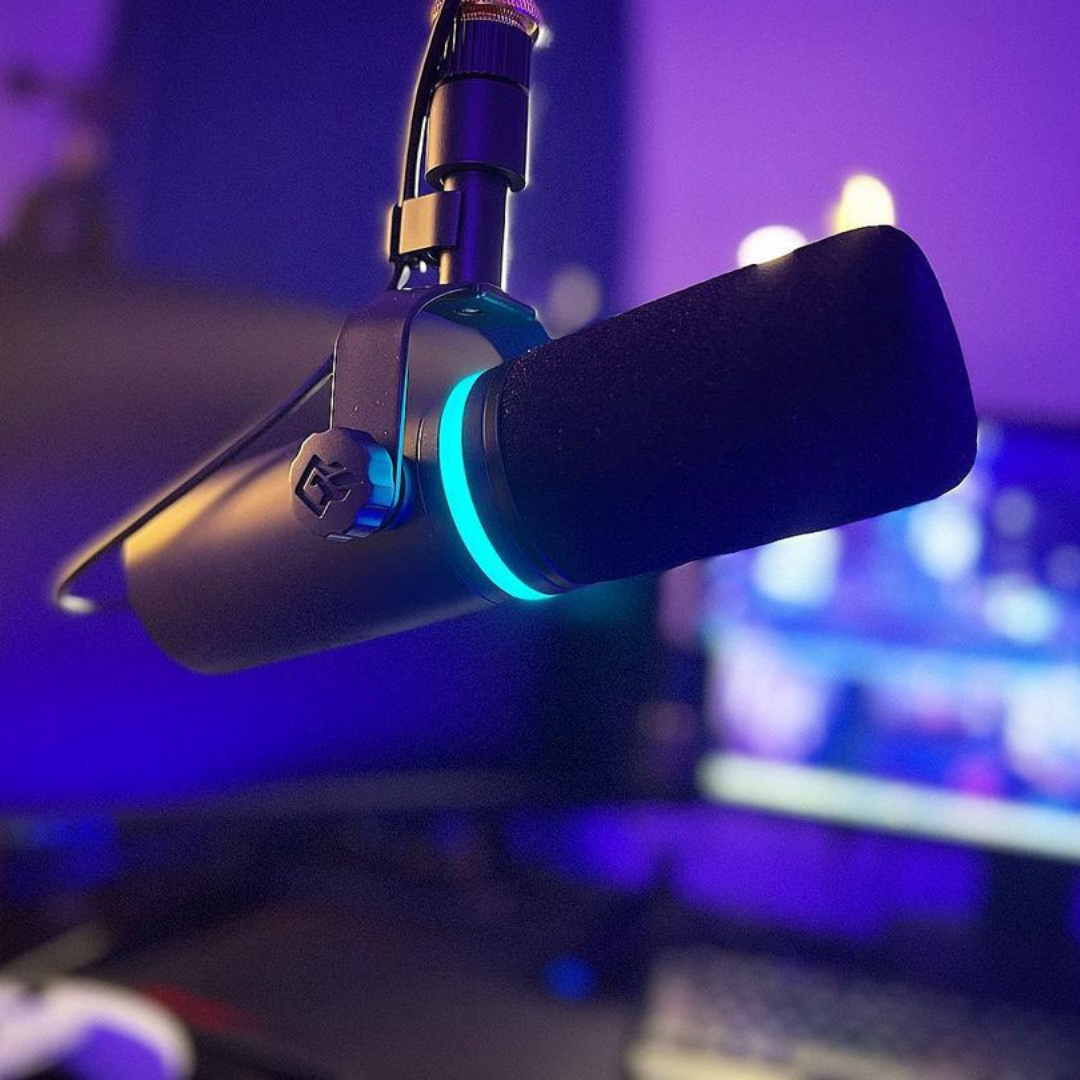
"Ja, den kan hantera en SM7B, Podmic, AT2020, Yeti, PR40 eller i princip vilken annan mikrofon som helst som inte är gjord av massivt guld. Om du har en mikrofon av massivt guld, vänligen skicka den till oss för testning... vi lovar att skicka tillbaka den."
Vanligtvis finns det två saker att tänka på när du använder en skrivbordsmikrofon för innehållsskapande:
1. Avstånd till din mun
2. Vilken riktning som är mikrofonens "framsida"
Avstånd till munnen:
Hur långt mikrofonen är placerad från din mun påverkar ljudkvaliteten och mängden bakgrundsljud som fångas upp. Idealt sett bör du placera mikrofonen cirka 5–10 cm (2–4 tum) från din mun. Ju närmare mikrofonen är, desto mer "närhetseffekt" får du, vilket bidrar till det varma och mysiga "radioljud" som många eftersträvar.
När mikrofonen är nära din mun kan du också minska den totala förstärkningen som krävs för att korrekt driva mikrofonen, vilket gör mikrofonen mindre känslig överlag. Det är positivt! Din röst blir mycket starkare än andra ljud i rummet, och den lägre förstärkningen innebär att mikrofonen inte lika lätt fångar upp bakgrundsljud jämfört med om mikrofonen är längre bort och kräver högre förstärkning.
Mikrofonens "framsida":
De flesta mikrofoner (särskilt sådana för sändningar eller sång) har en riktning som de är designade att plocka upp ljud från. Kontrollera mikrofonens instruktioner eller dokumentation för att ta reda på vilken riktning mikrofonen ska vara vänd för optimal användning.
Kom ihåg att mikrofonens form eller dess skumskydd inte nödvändigtvis visar vilken riktning som är korrekt!
Efter att du följt de medföljande instruktionerna för att montera mikrofonstativet bör du först avgöra om du behöver använda "förlängningshöjaren" eller inte. Det är helt en fråga om personlig preferens, och höjaren kan enkelt läggas till eller tas bort när som helst.
• Bestäm vilken sida du vill montera stativet på. Detta beror ofta på var din mus, ditt tangentbord eller andra föremål är placerade på ditt skrivbord.
• Använd den medföljande insexnyckeln för att dra åt sexkantsmuttern vid leden på den övre armen. Den ska bara vara åtdragen lagom, inte för hårt!
• Montera mikrofonen på kulhuvudet och dra åt vredet tills kulan inte längre vrider sig.
• Klart! Du kan använda insexnyckeln och/eller kulhuvudets vred för att göra finjusteringar och placera mikrofonen i perfekt position utan att den sjunker.
